
 In any event, the needle breaking gave me time to remember that I was supposed to post pics of my zippered pouch project. This was another proud moment as I've never really tackled a zipper (successfully anyway) before. My mom passed down the zipper fear gene so I've always opted for non-zipper closers. But onto new challenges, new resolutions.
 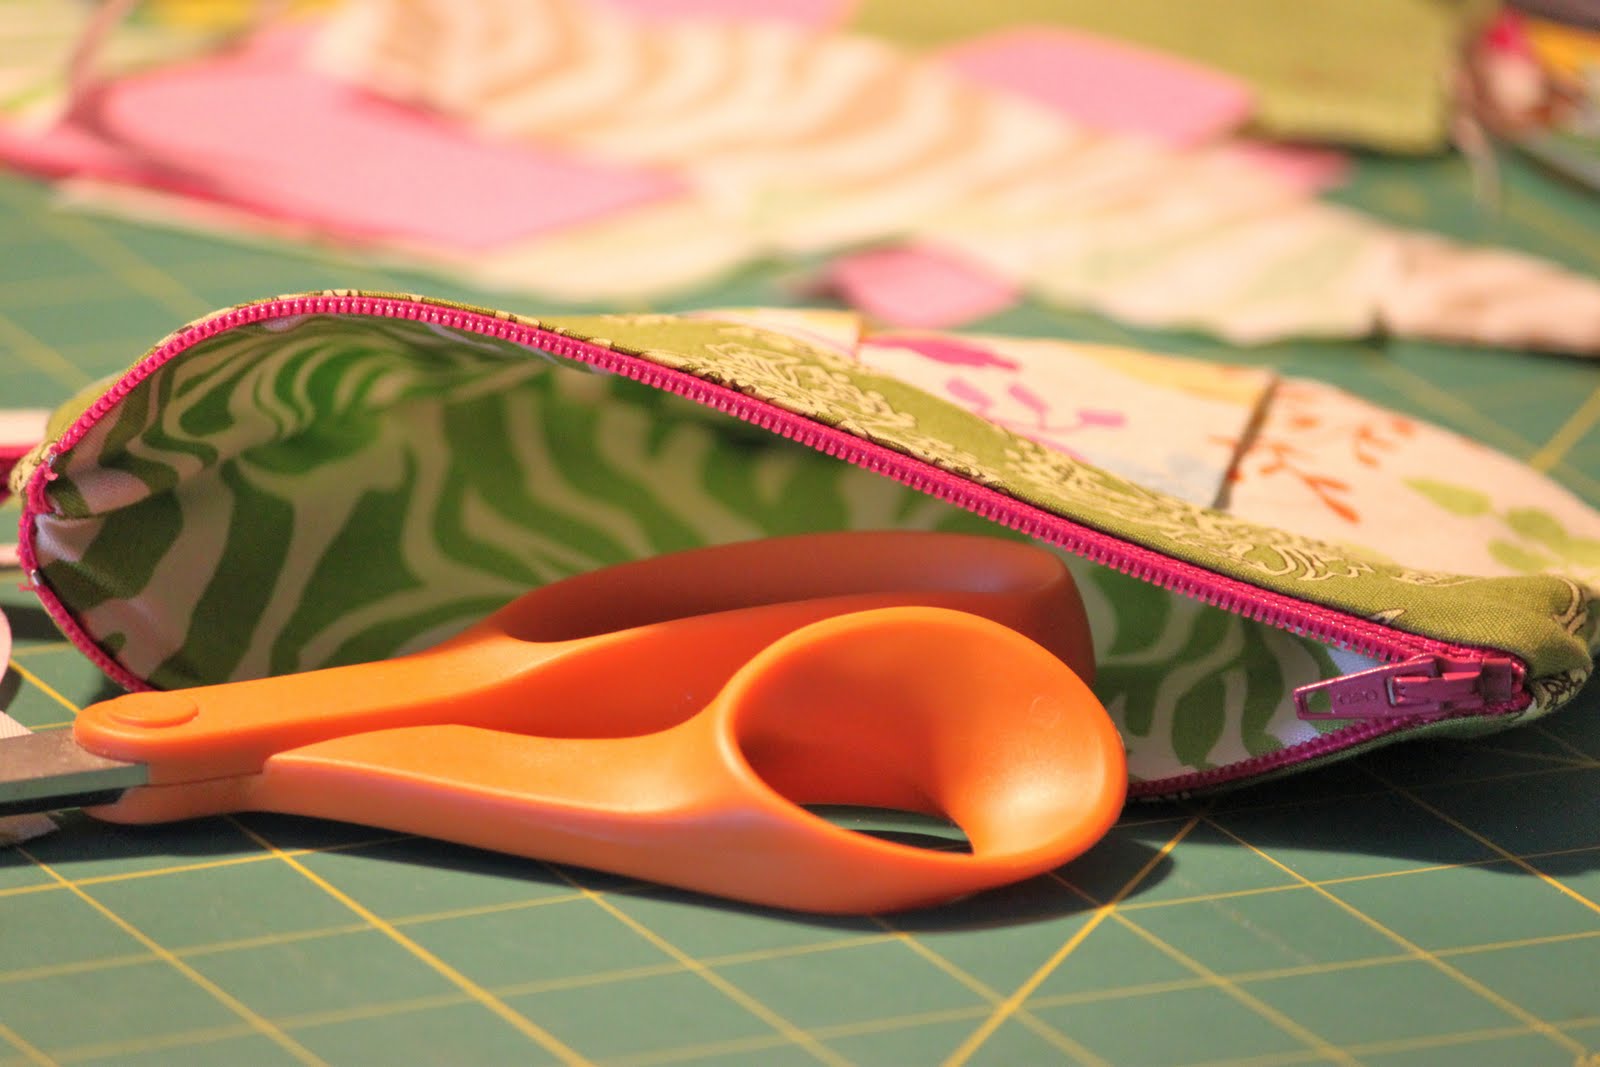 This project was found over at Skip to my Lou. The first pouch I made I made it per the instructions (see I really can follow instructions!). See the picture above, thats the first go at the zipper pouch - not too shabby ey! I was happy and I didn't even have to use the seam ripper, wooohooo! Sorry, I get a little excited when the seam ripper gets to stay locked inside its little pouch during a project. Also a good tell that the tutorial was great.
I really like the size and overall look of the pouch so I thought I would make another for a birthday gift (for a friend this time around). However, this time I thought I would bend the instructions a little bit and add some structure. So, I added some medium weight interfacing to the exterior fabric. I also added a pocket big enough to hold a credit card or driver's license on the inside. I don't know about you, but I loved how it turned out (see below). It had structure and really allowed the pleats to show off a little bit. 


Hopefully the package will be sent off to my lil neice (wish me luck) and I'll be able to share with you my first...oops can't tell you yet!
Enjoy!
